Step 2
Create subscription in App store connect
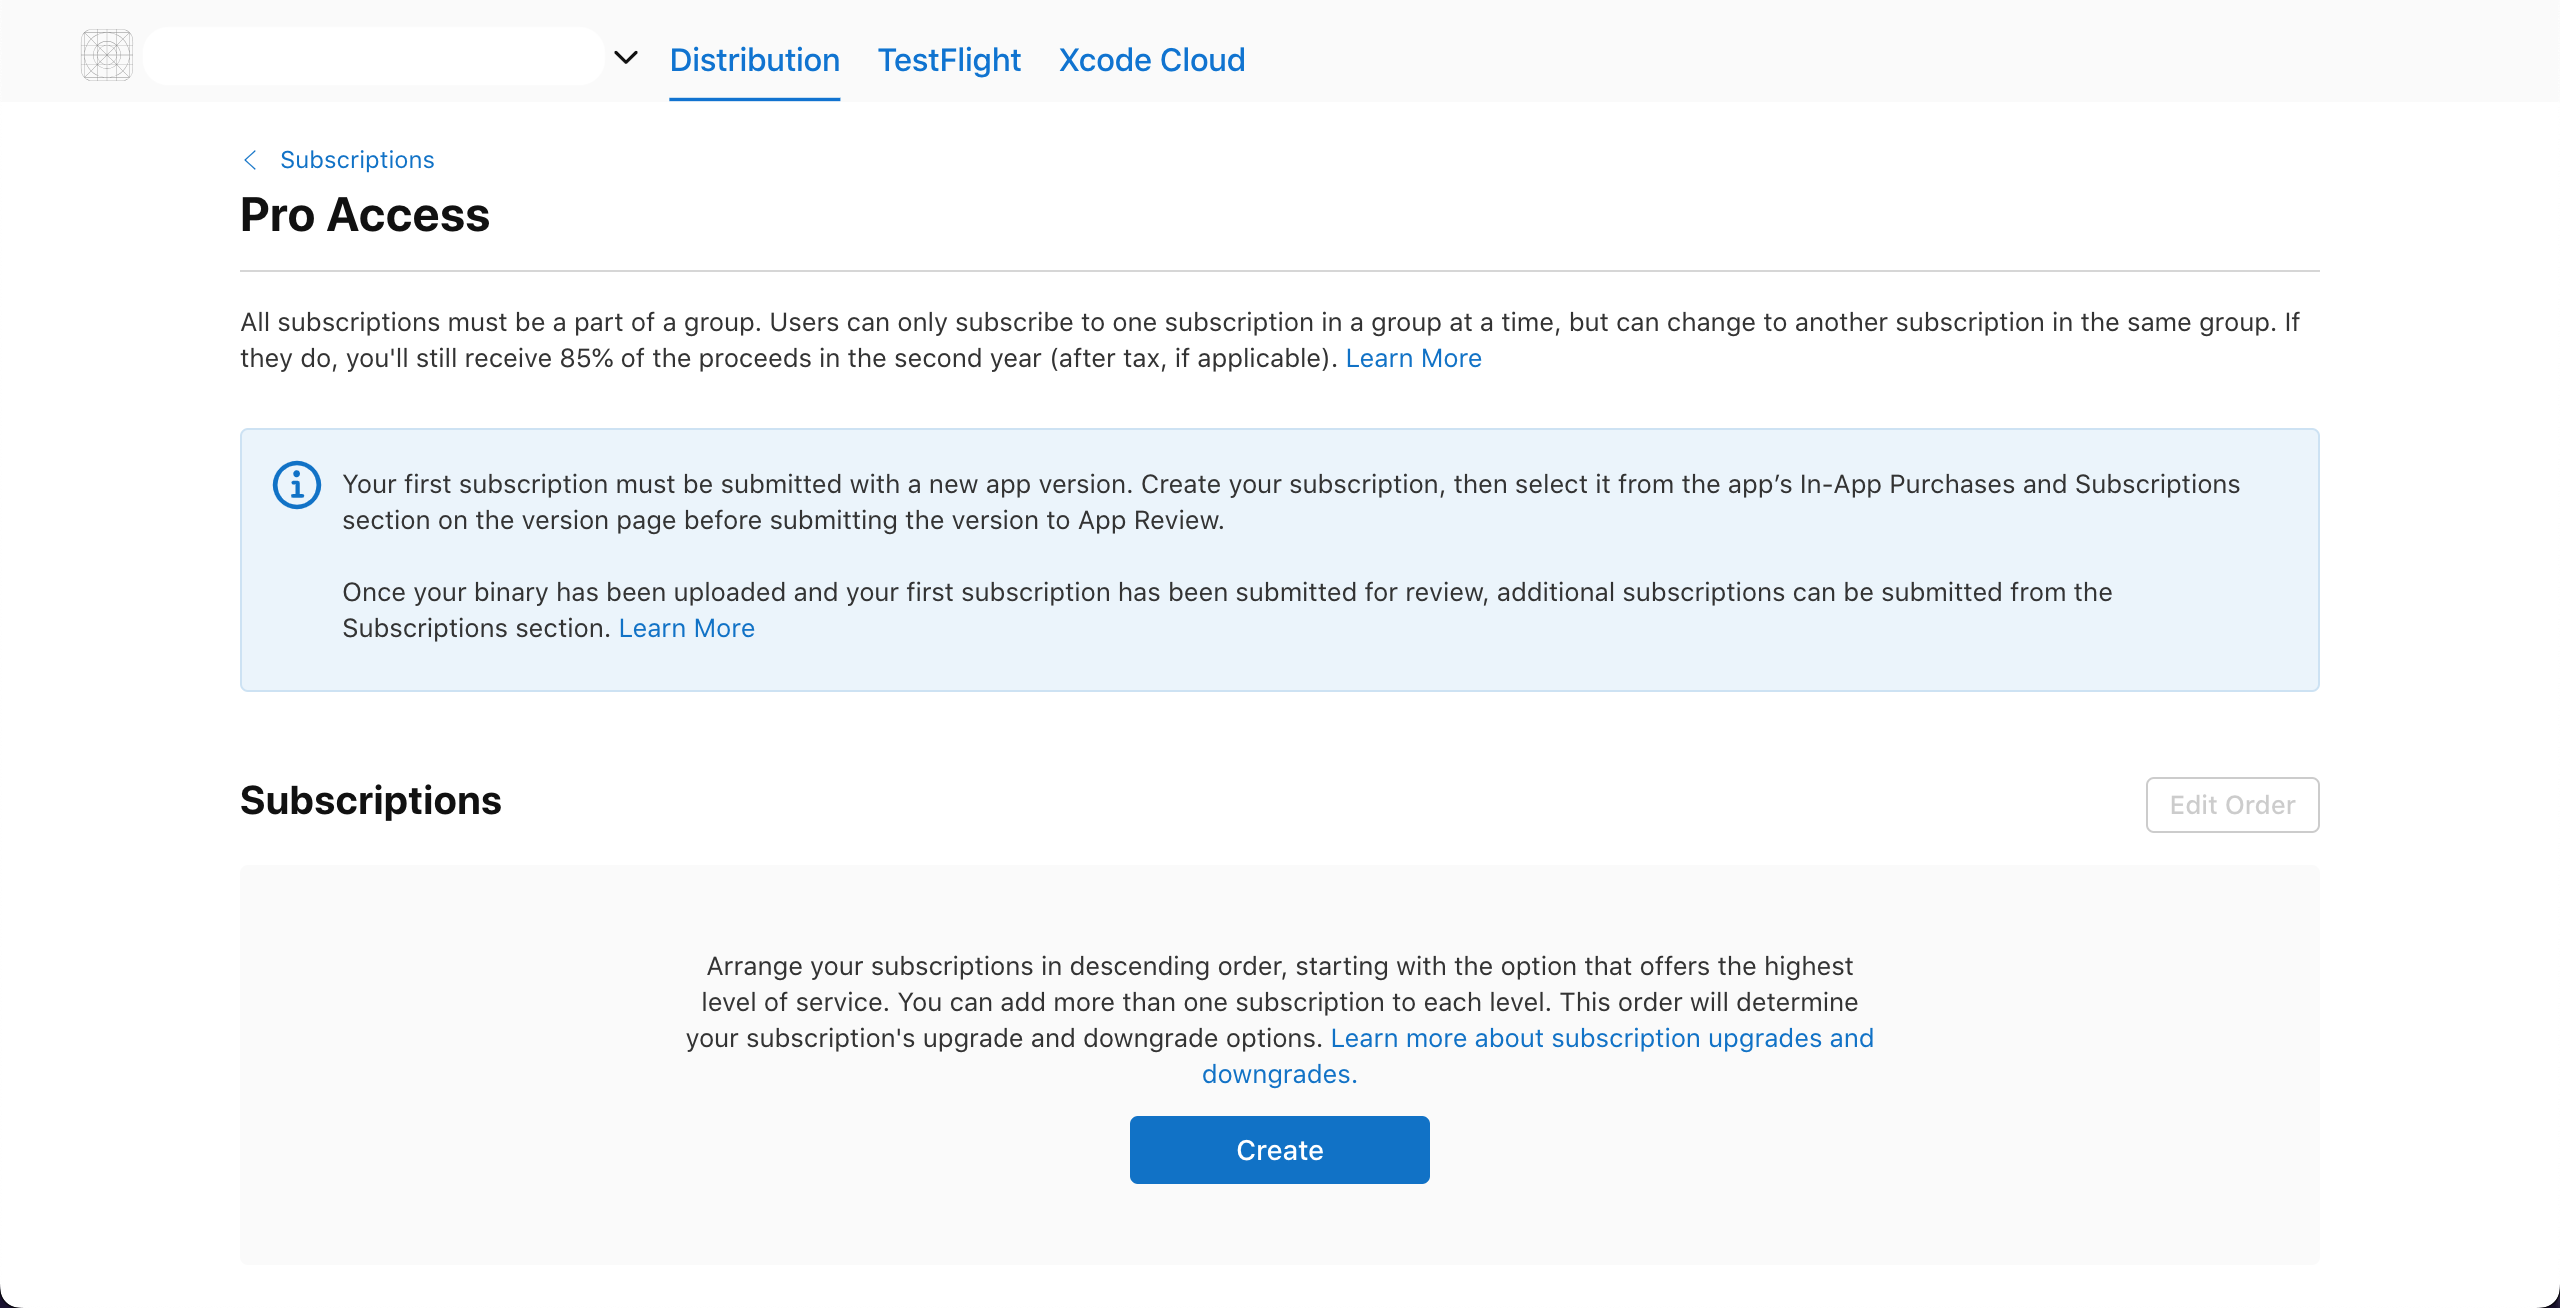
- To create subscription, go to Subscription group which we created in with Step 1.
- Click on Create.
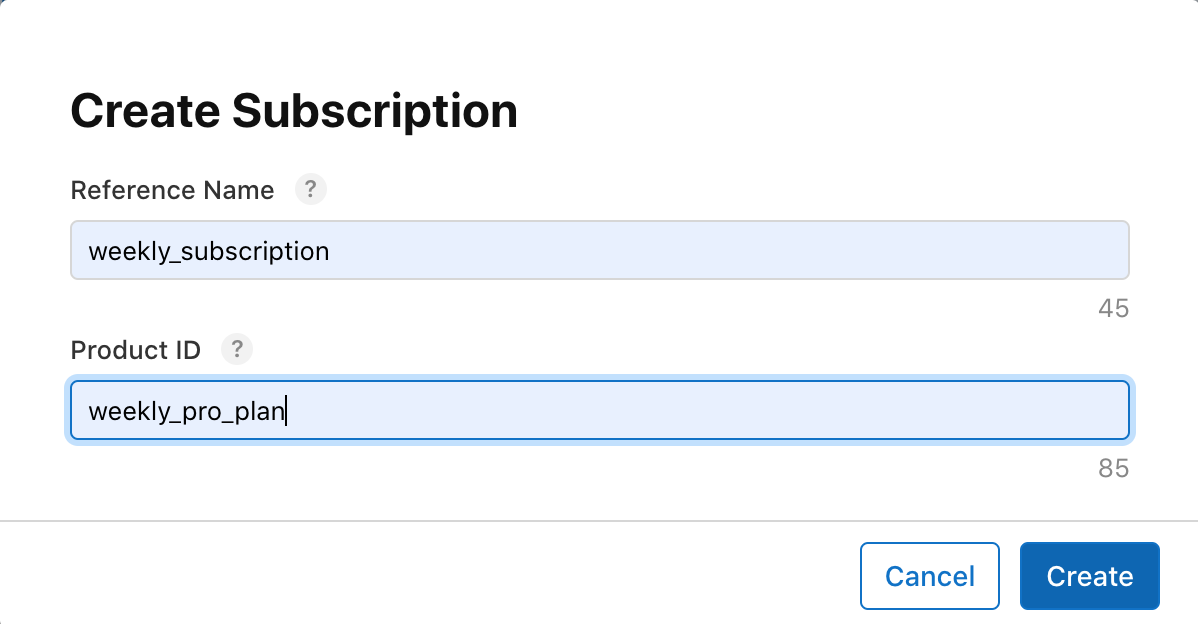
- Fill up Reference name and Product ID for subscription.
Take care
- You can’t change or reuse a Product ID after the product has been created.
- Also on deleting product you can not use same Product ID.
- To know more about naming convention for ProductID head over to common practices.
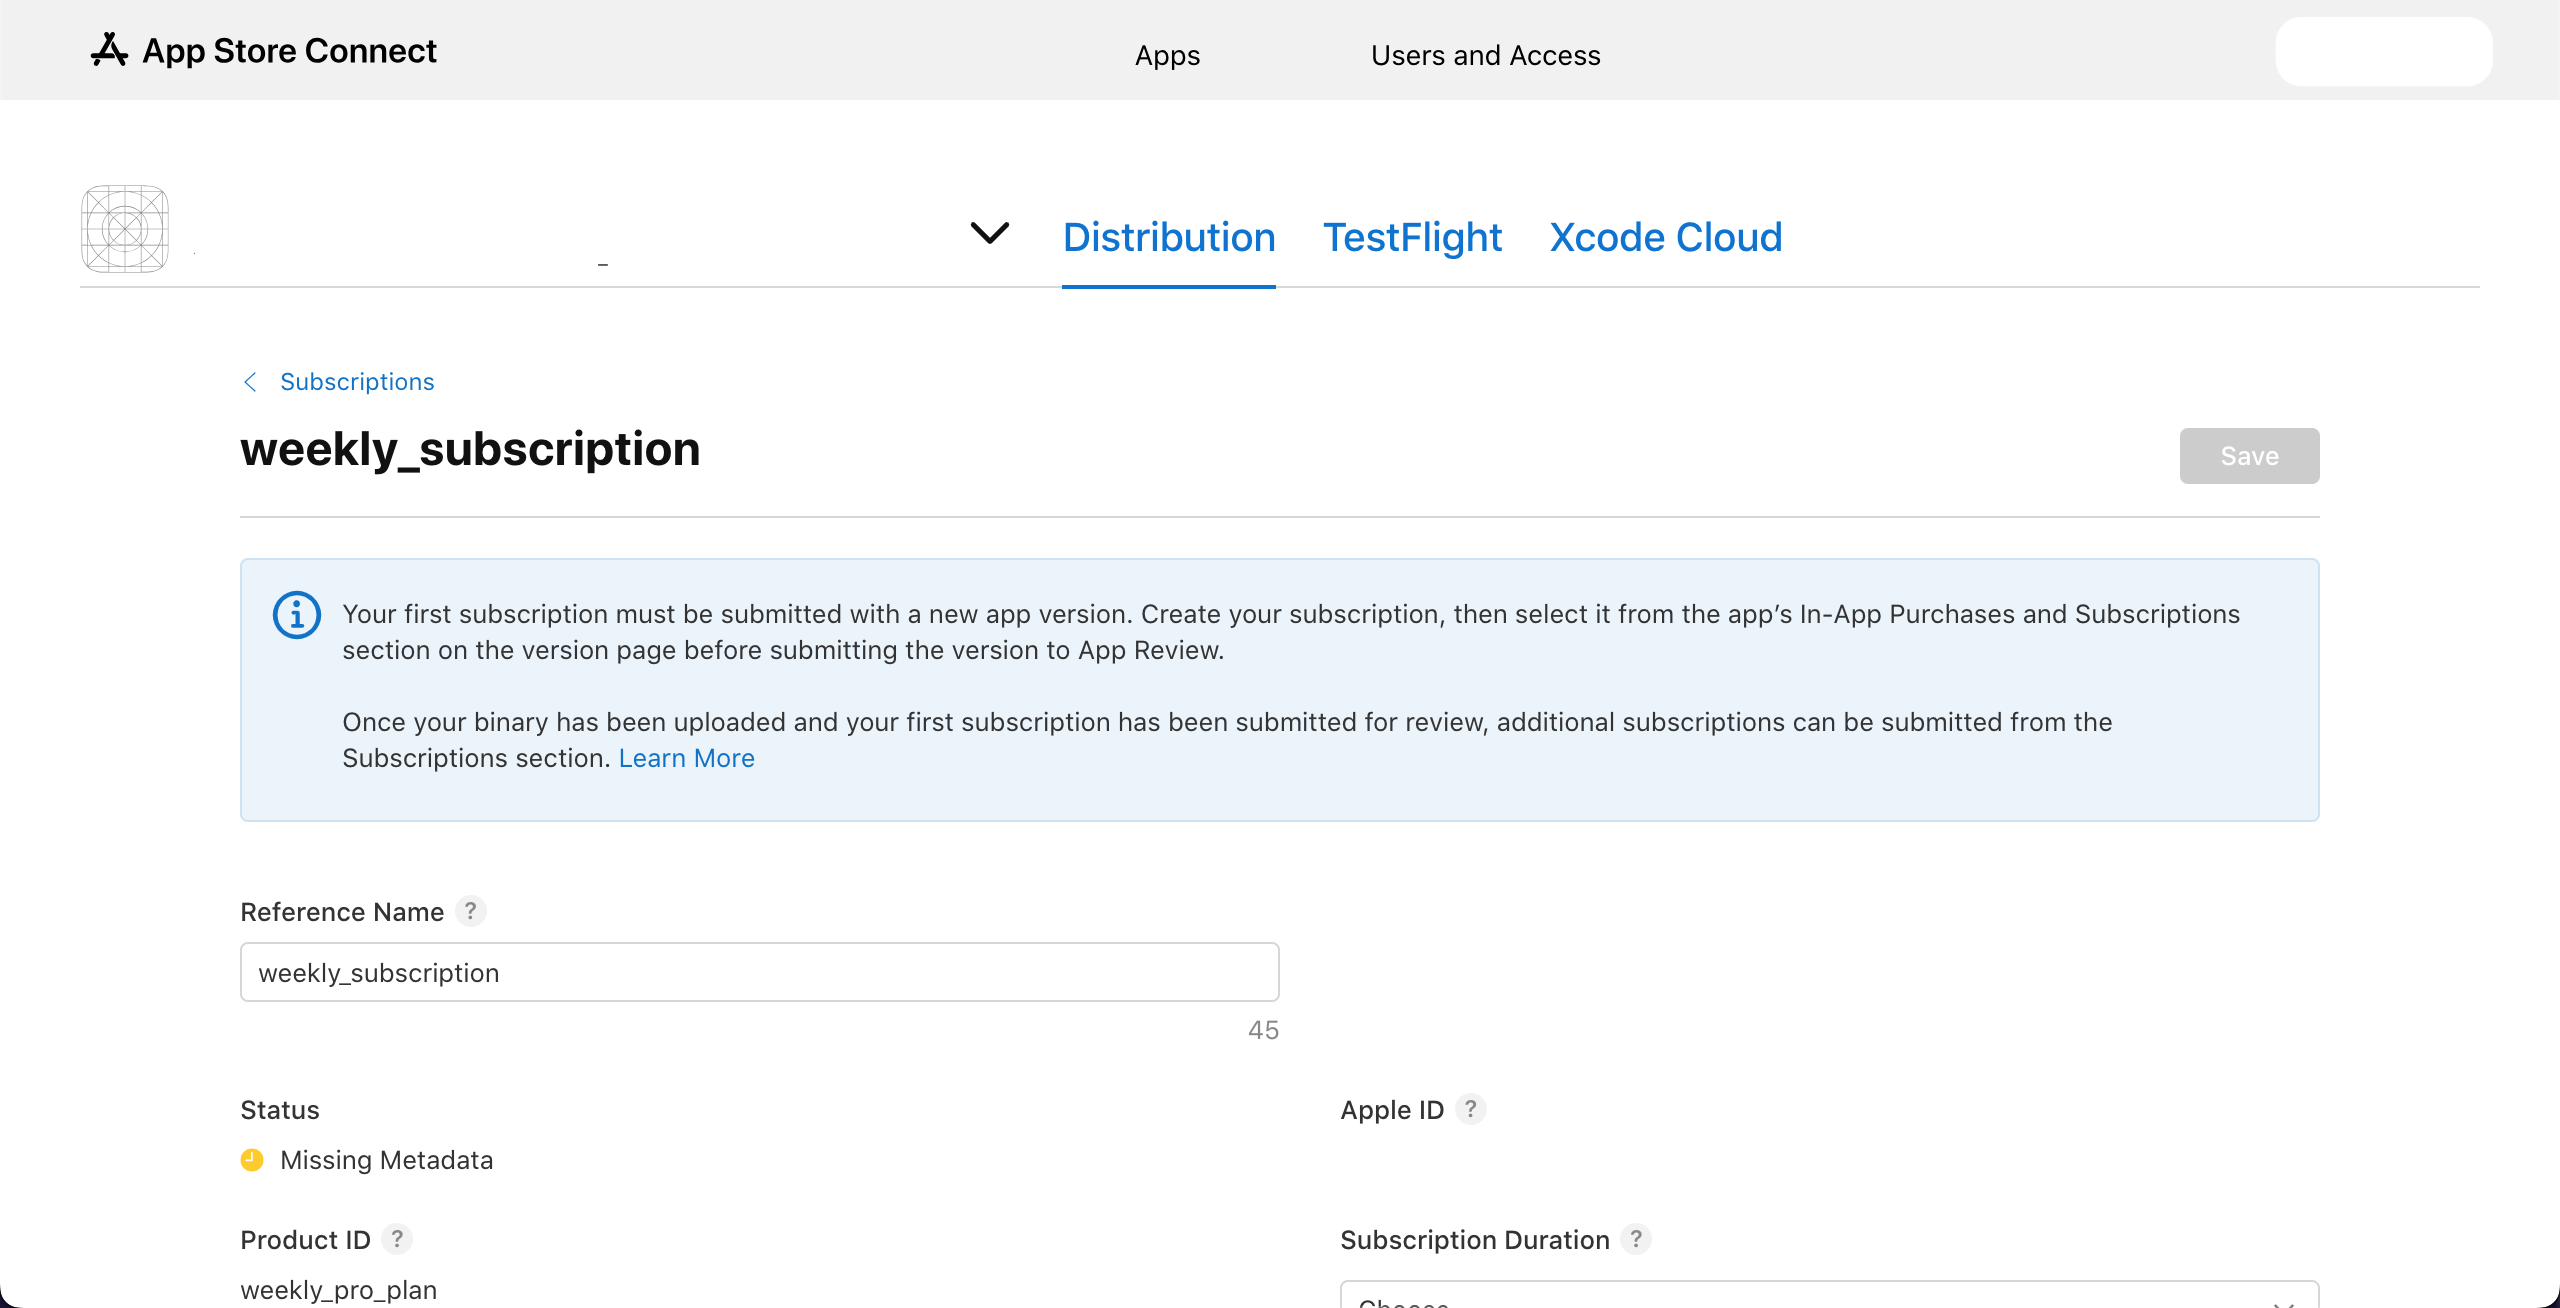
- And we have created the first subscription.
- Choose Subscription duration.
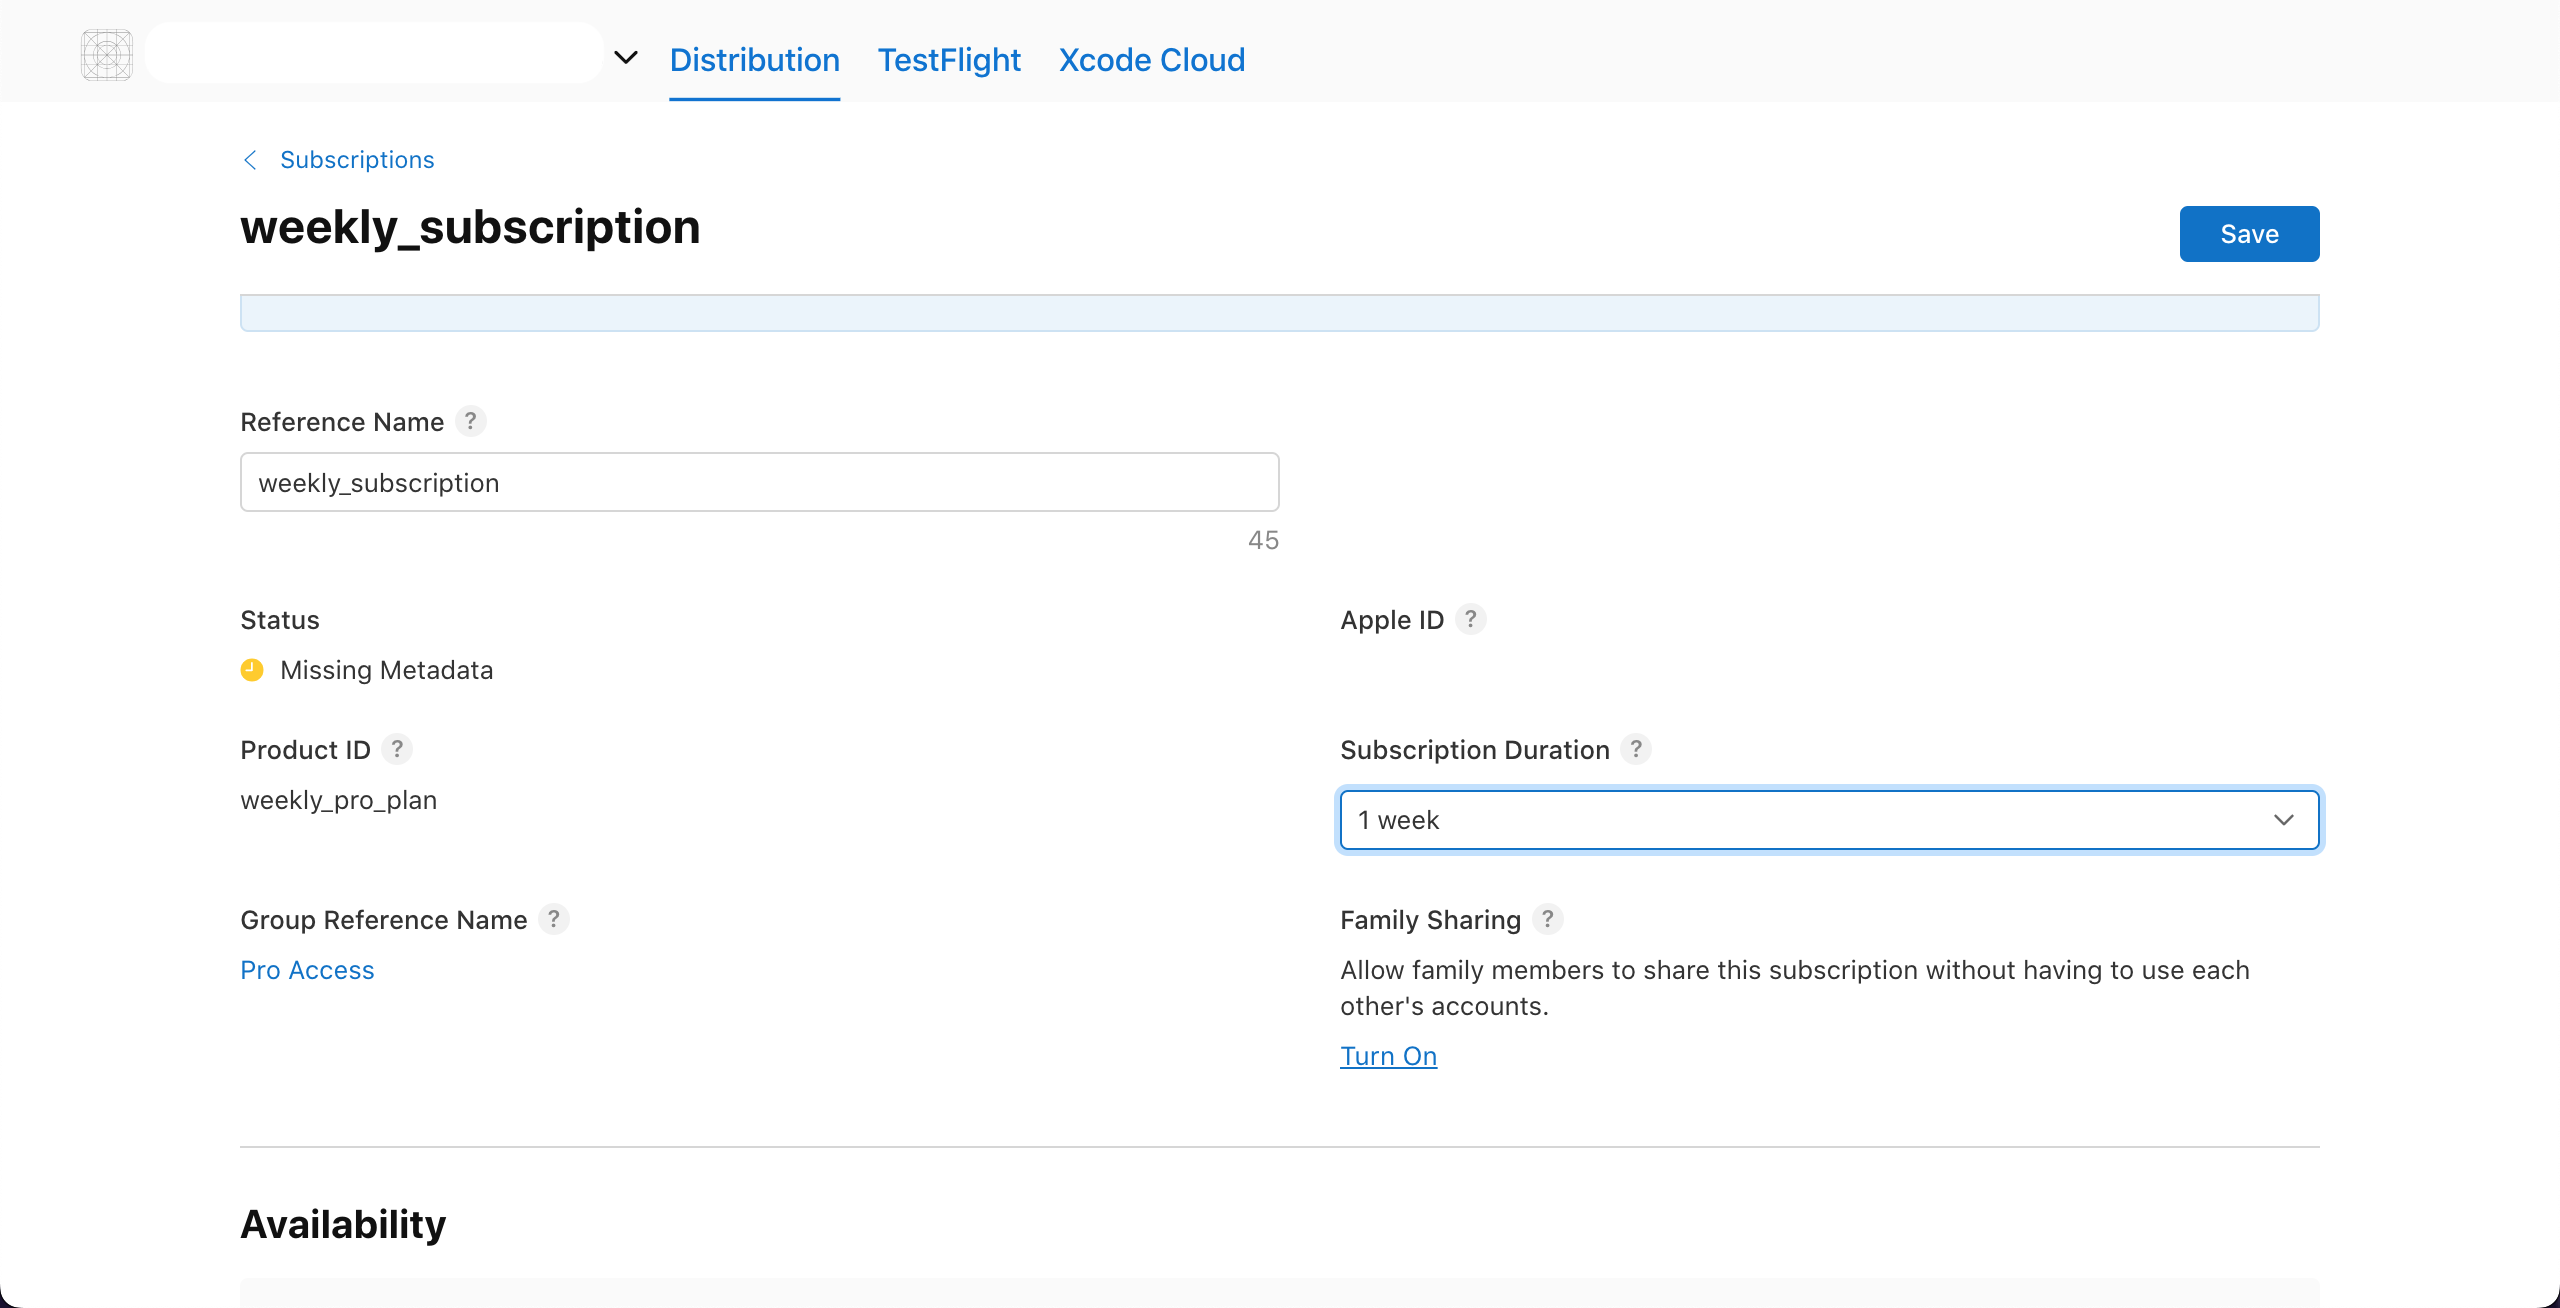
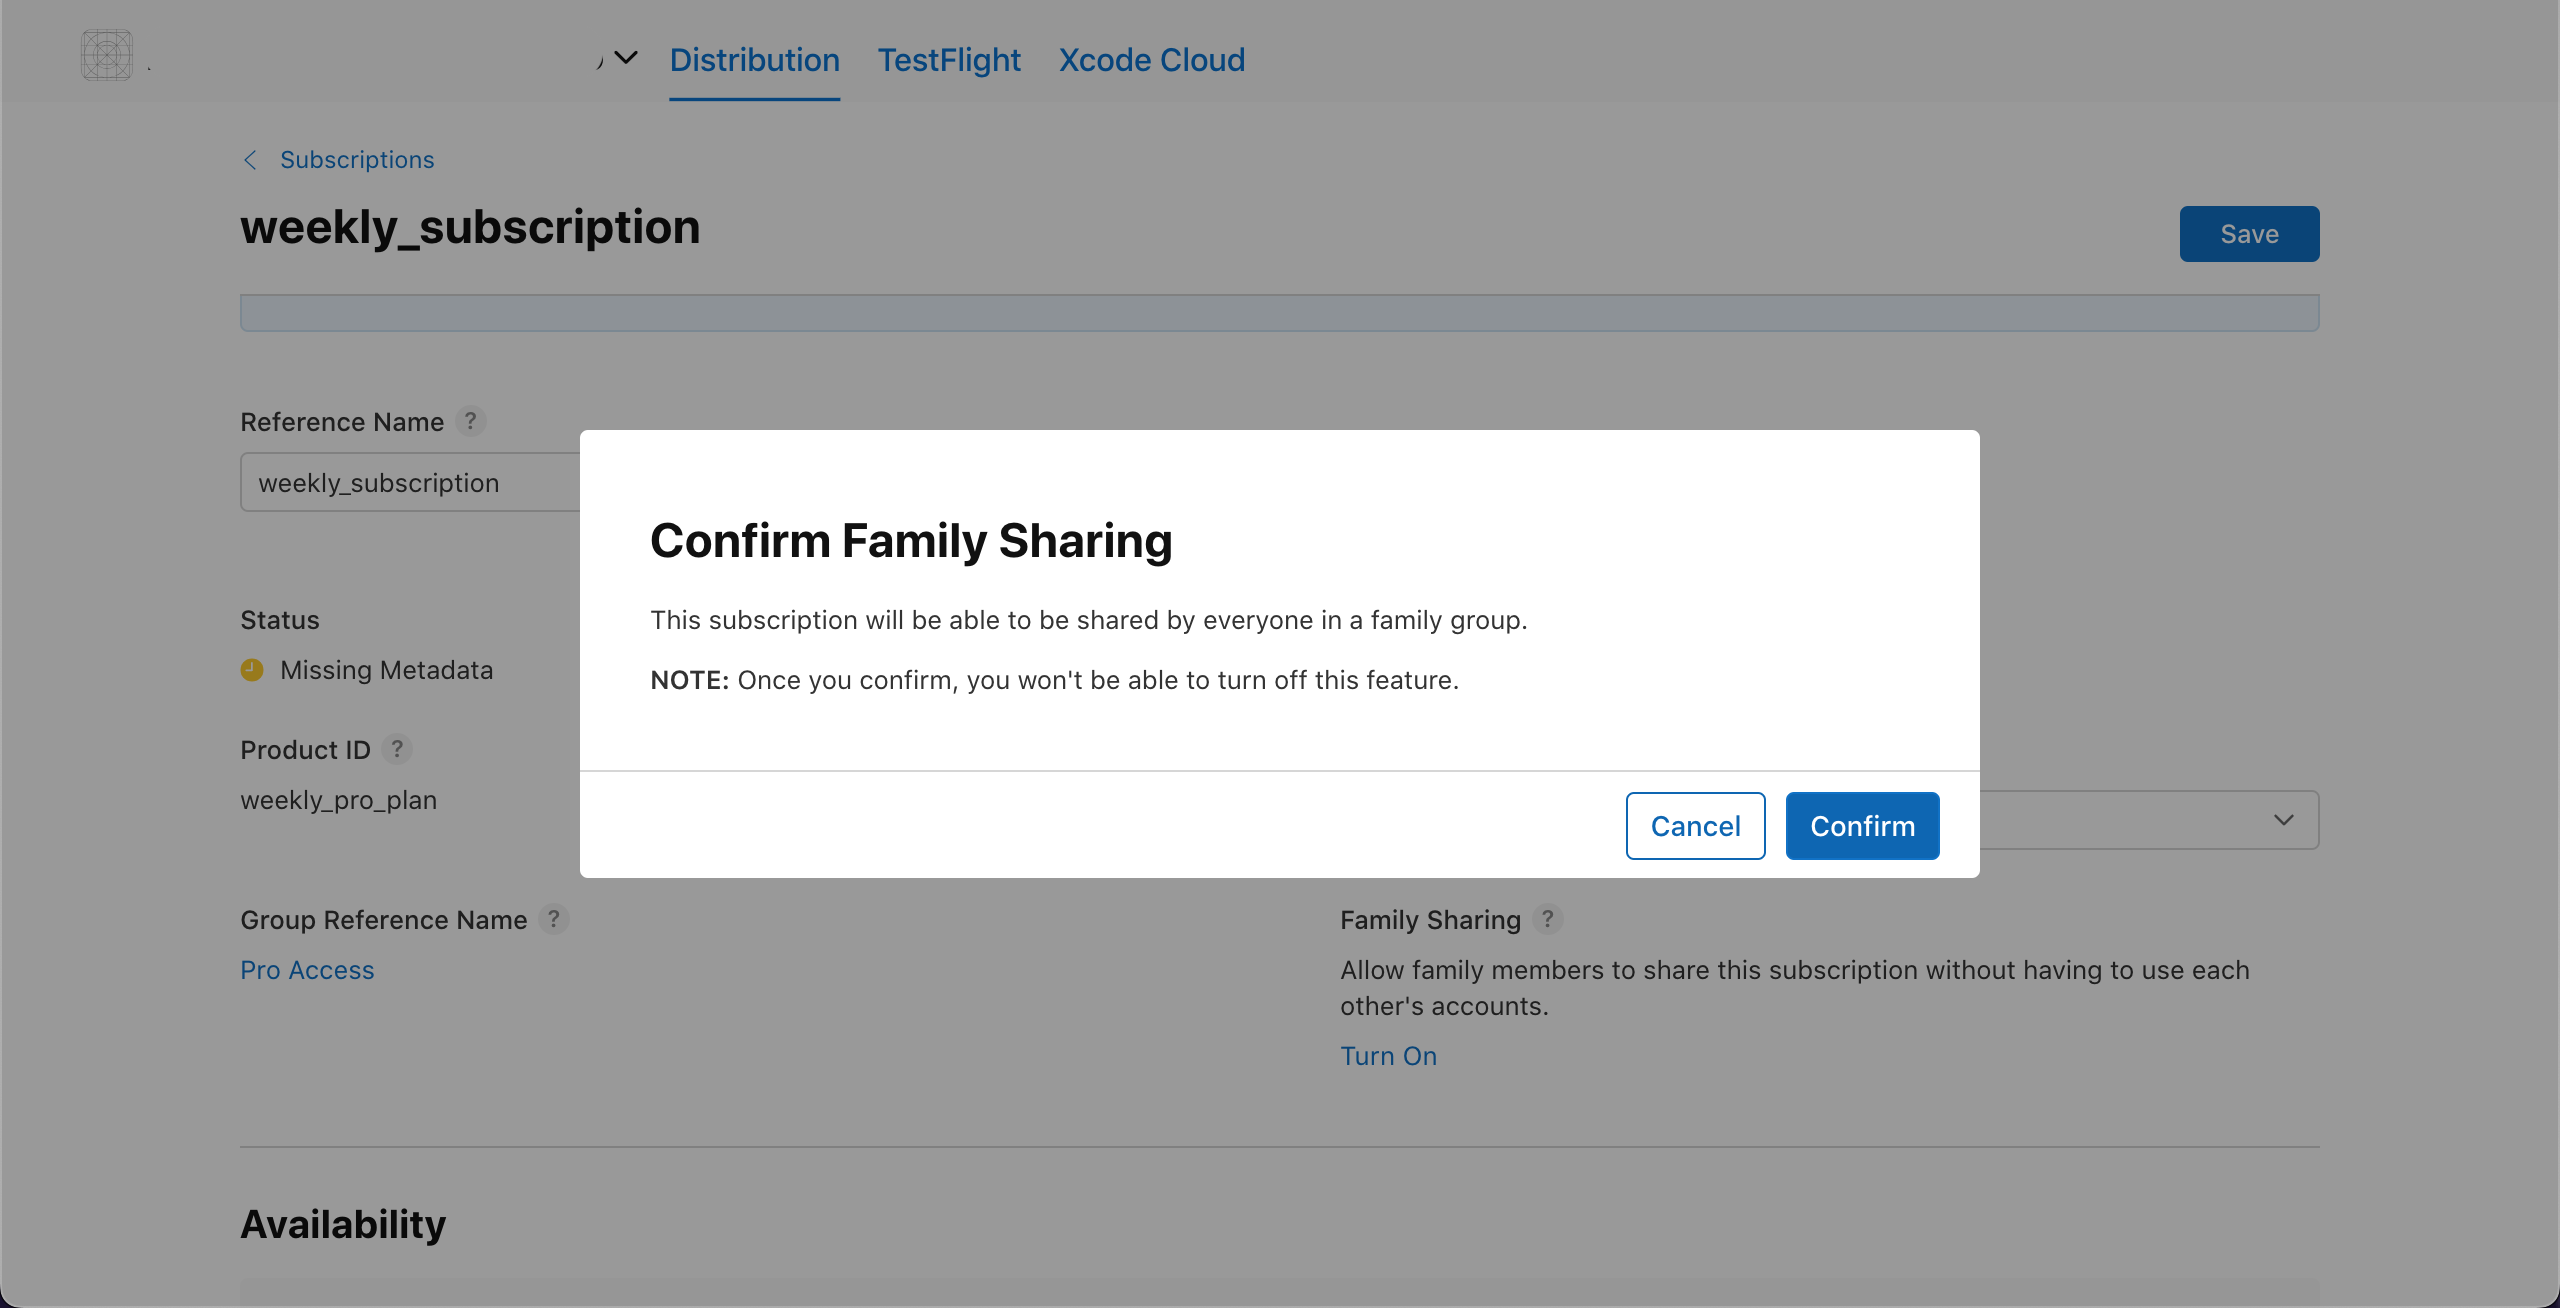
- Optionally enable Family sharing.
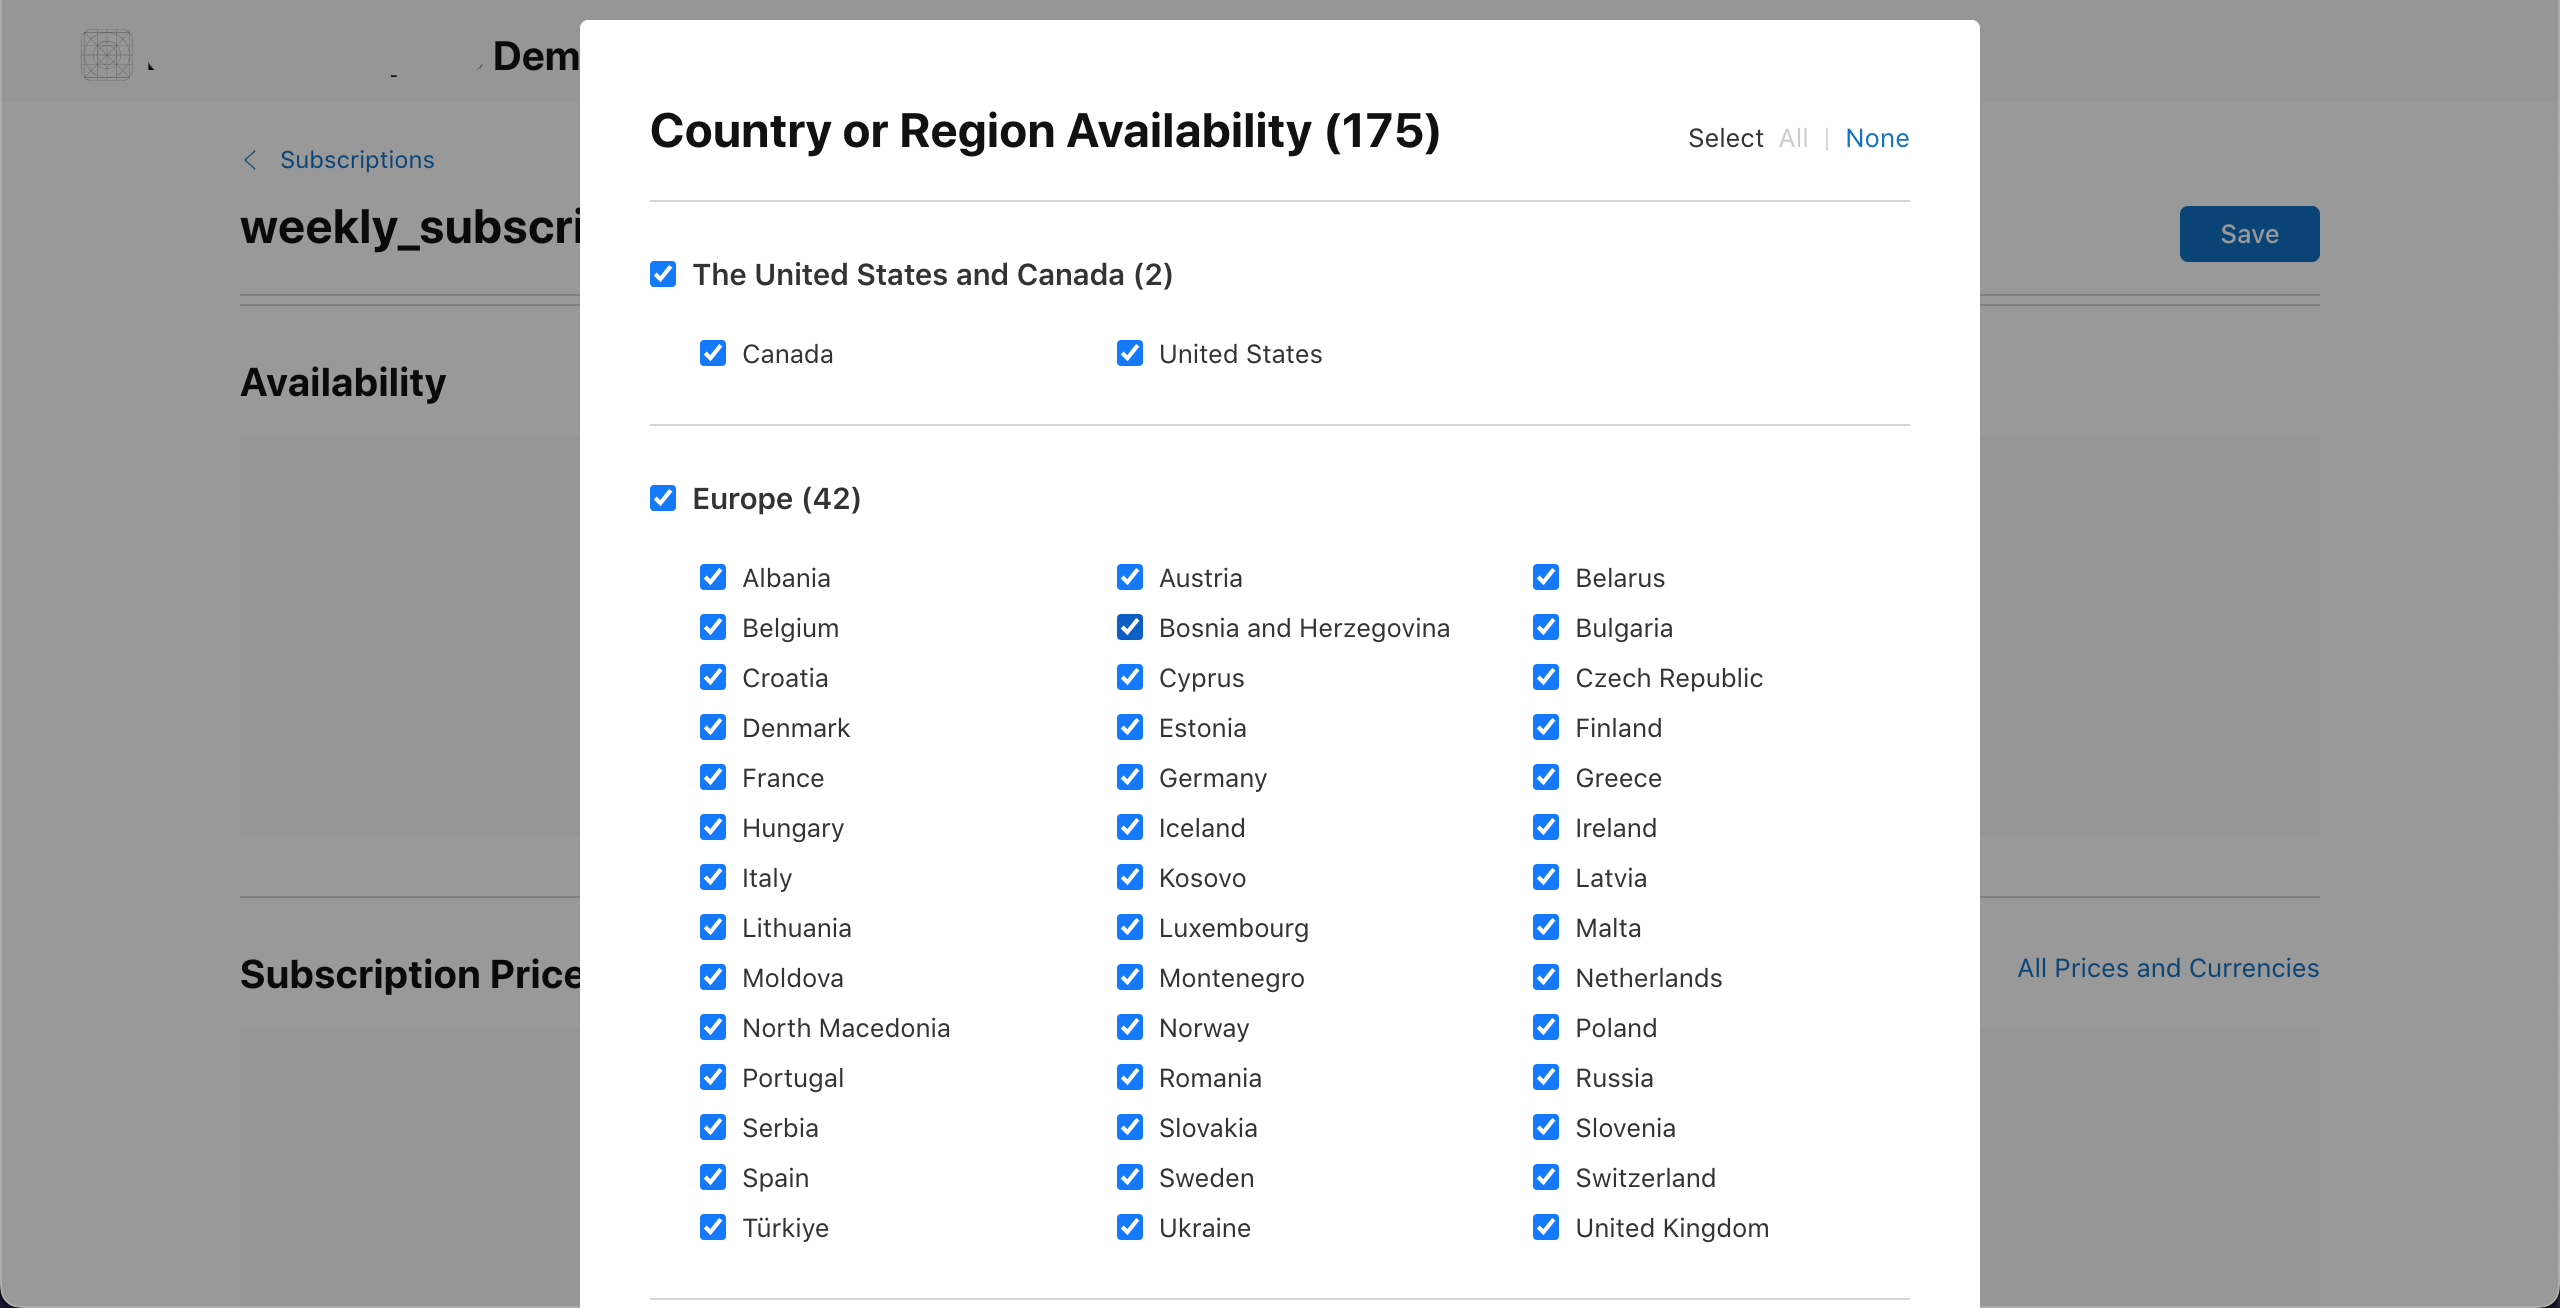
- Next choose specific country/region wise availability for subscription.
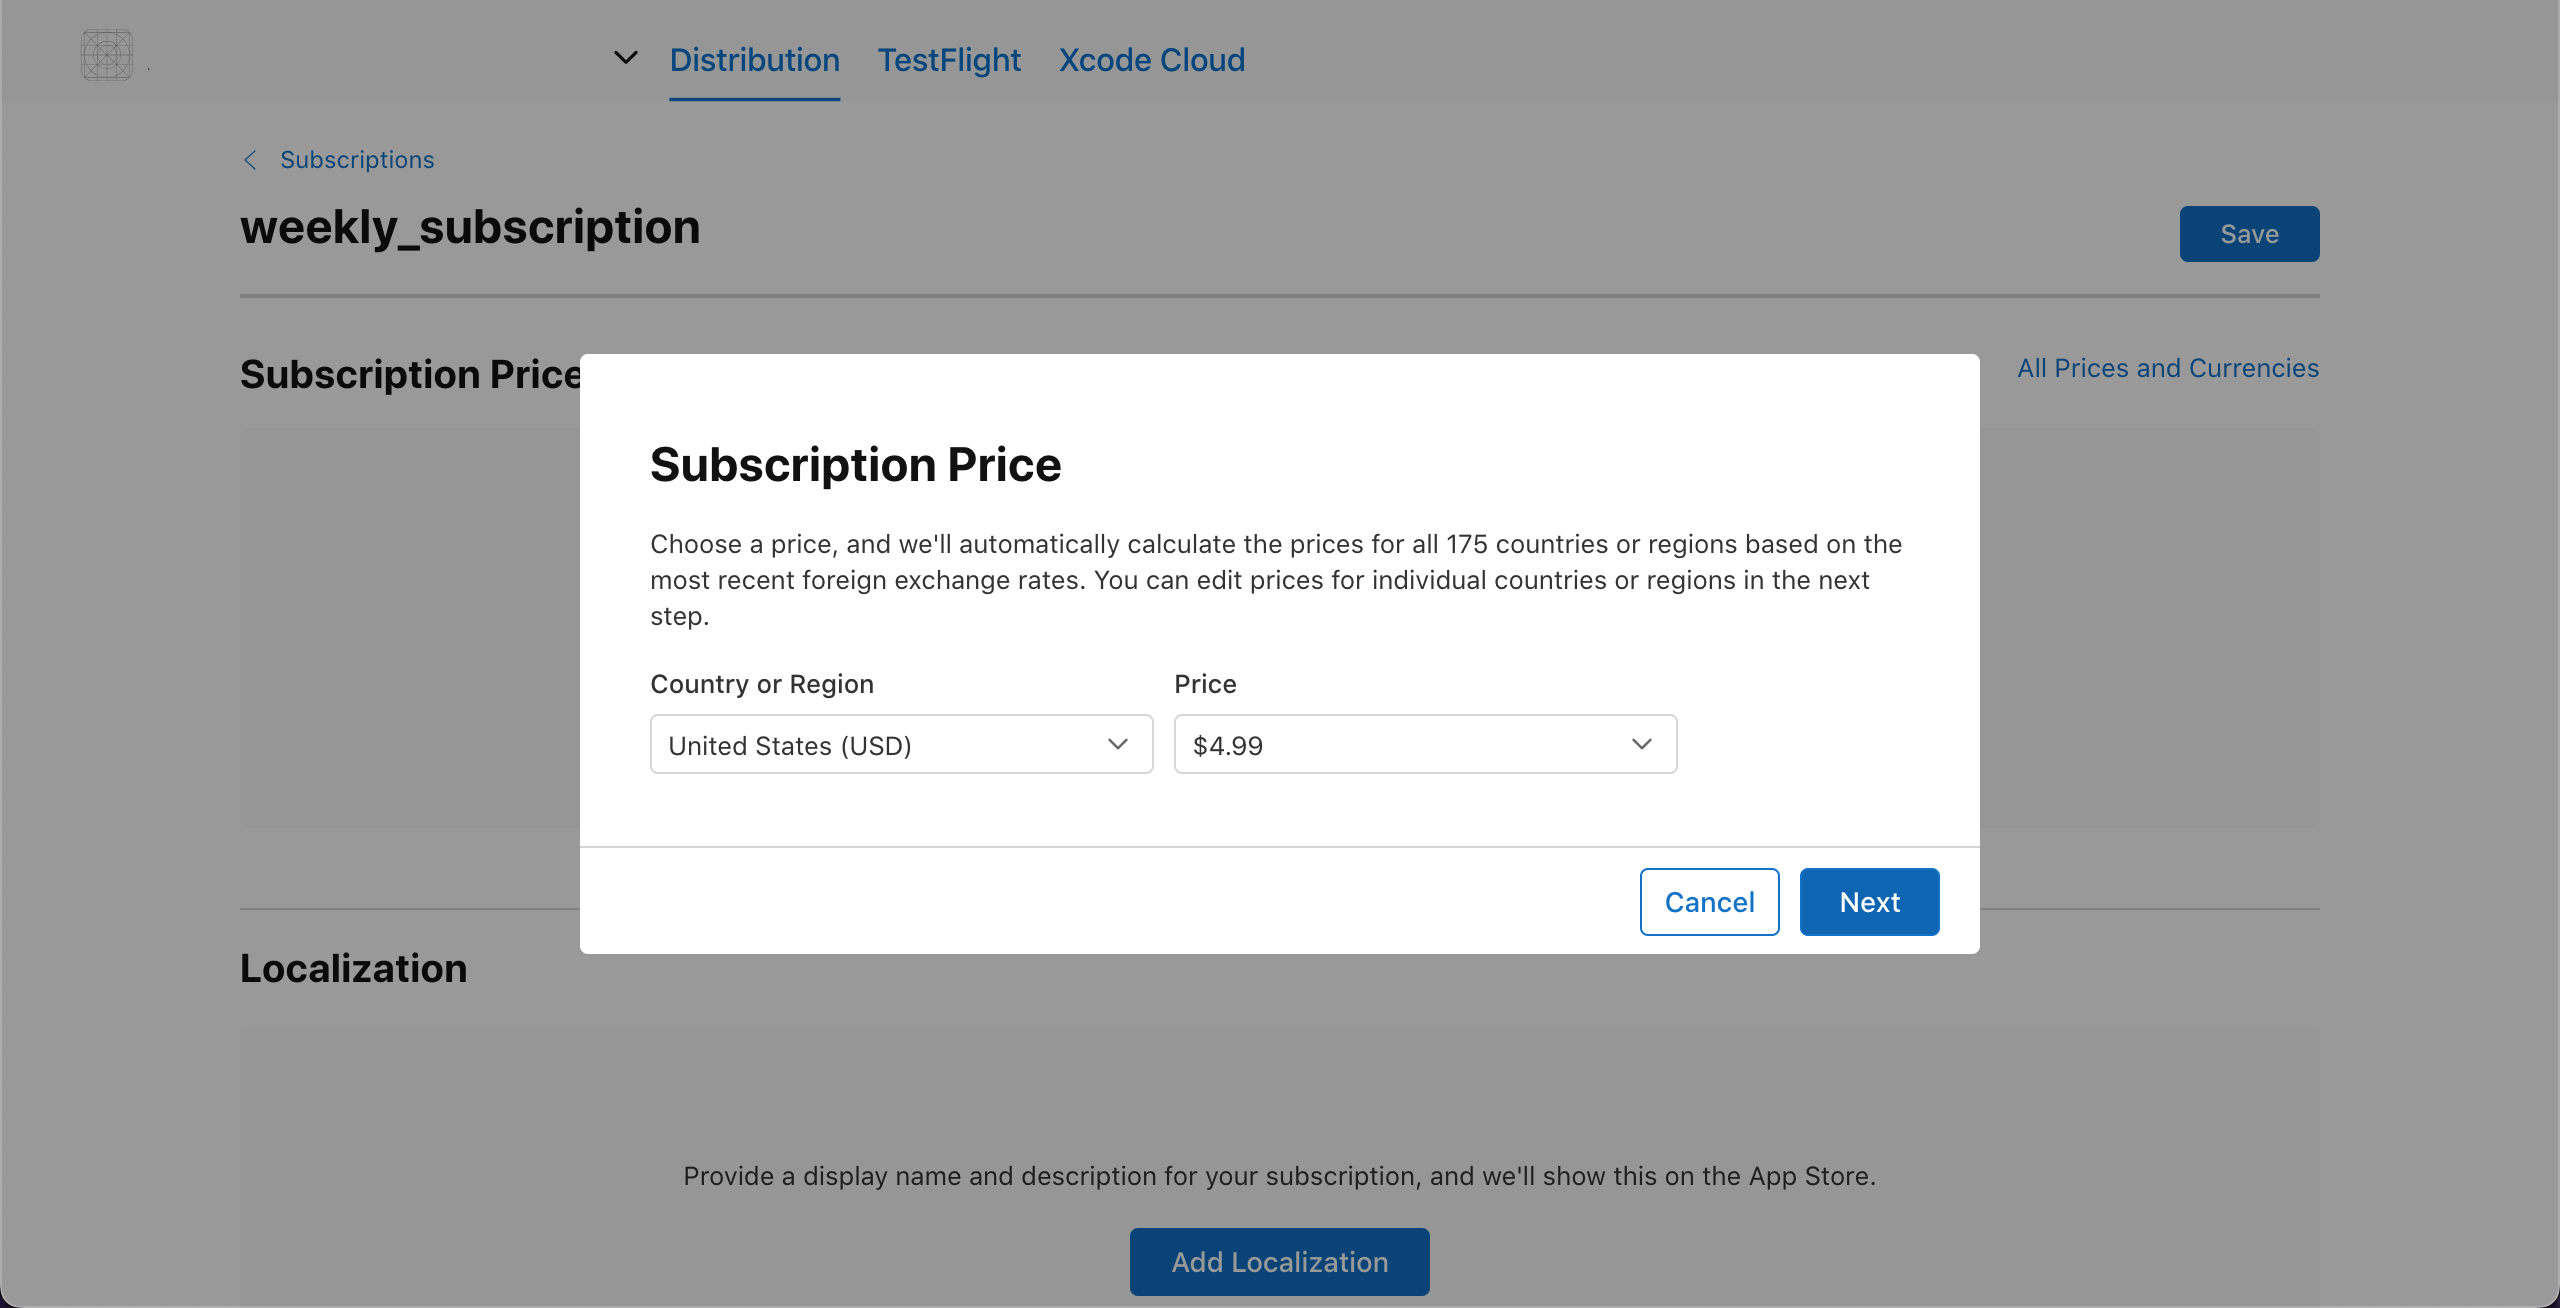
- Set price for subscription.
- You can set different price for different country/region.

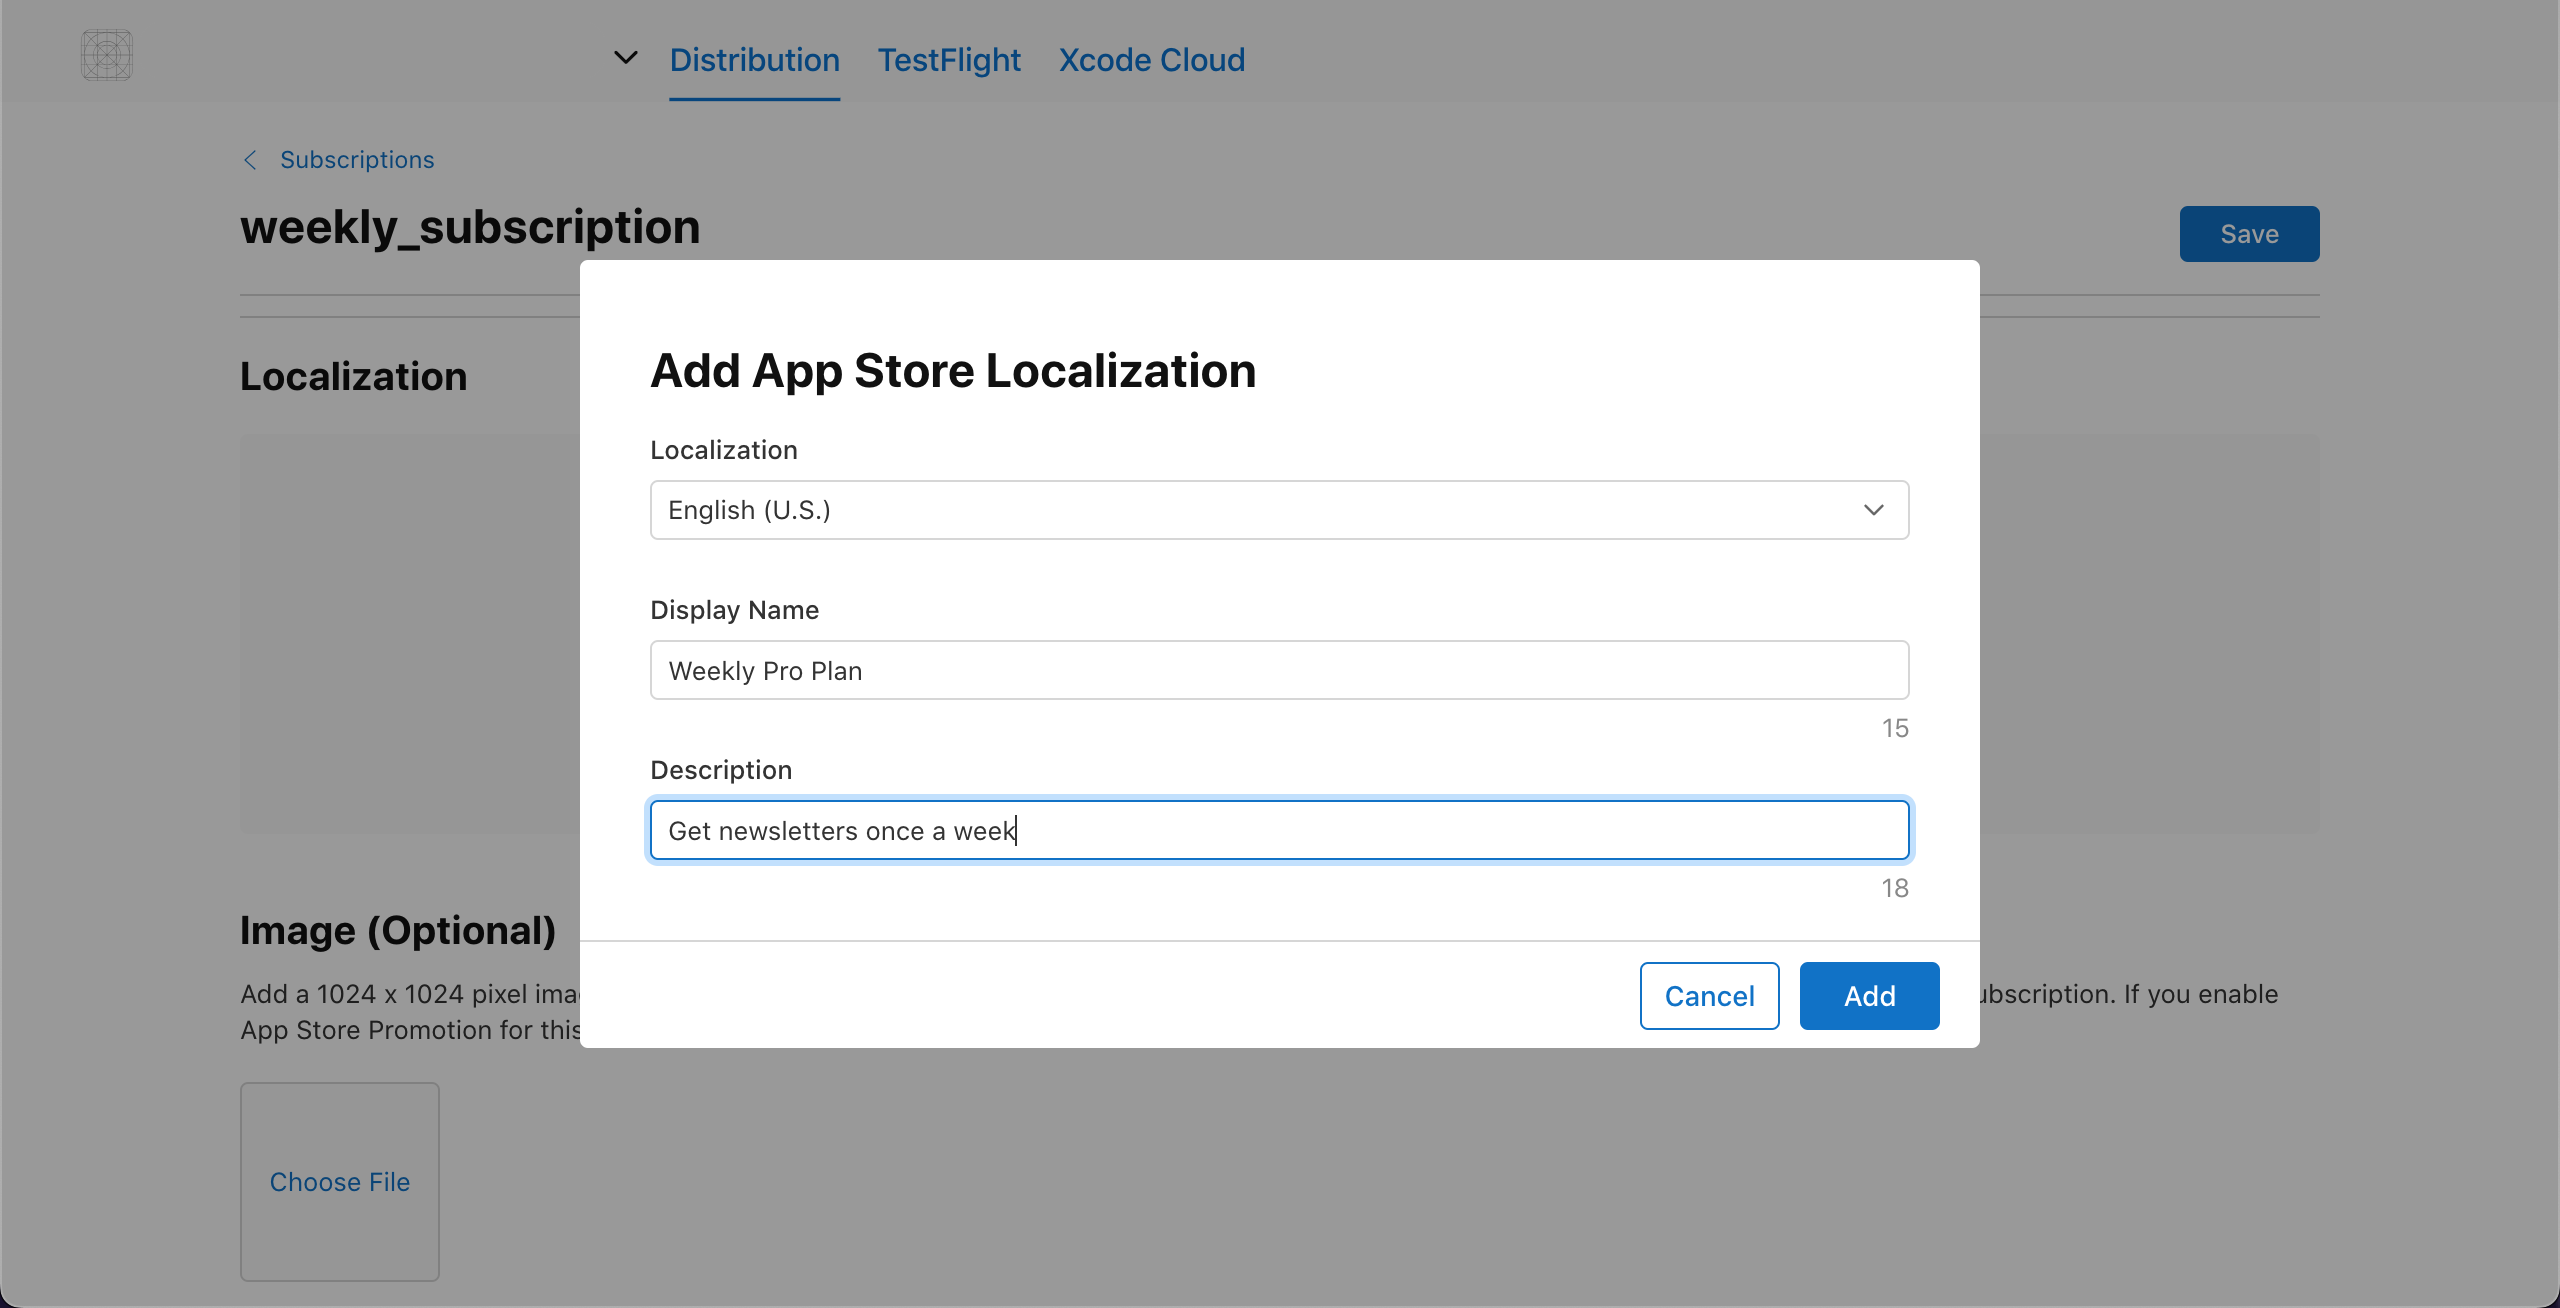
- Now add basic data like Localization, Display name and Description for subscription.
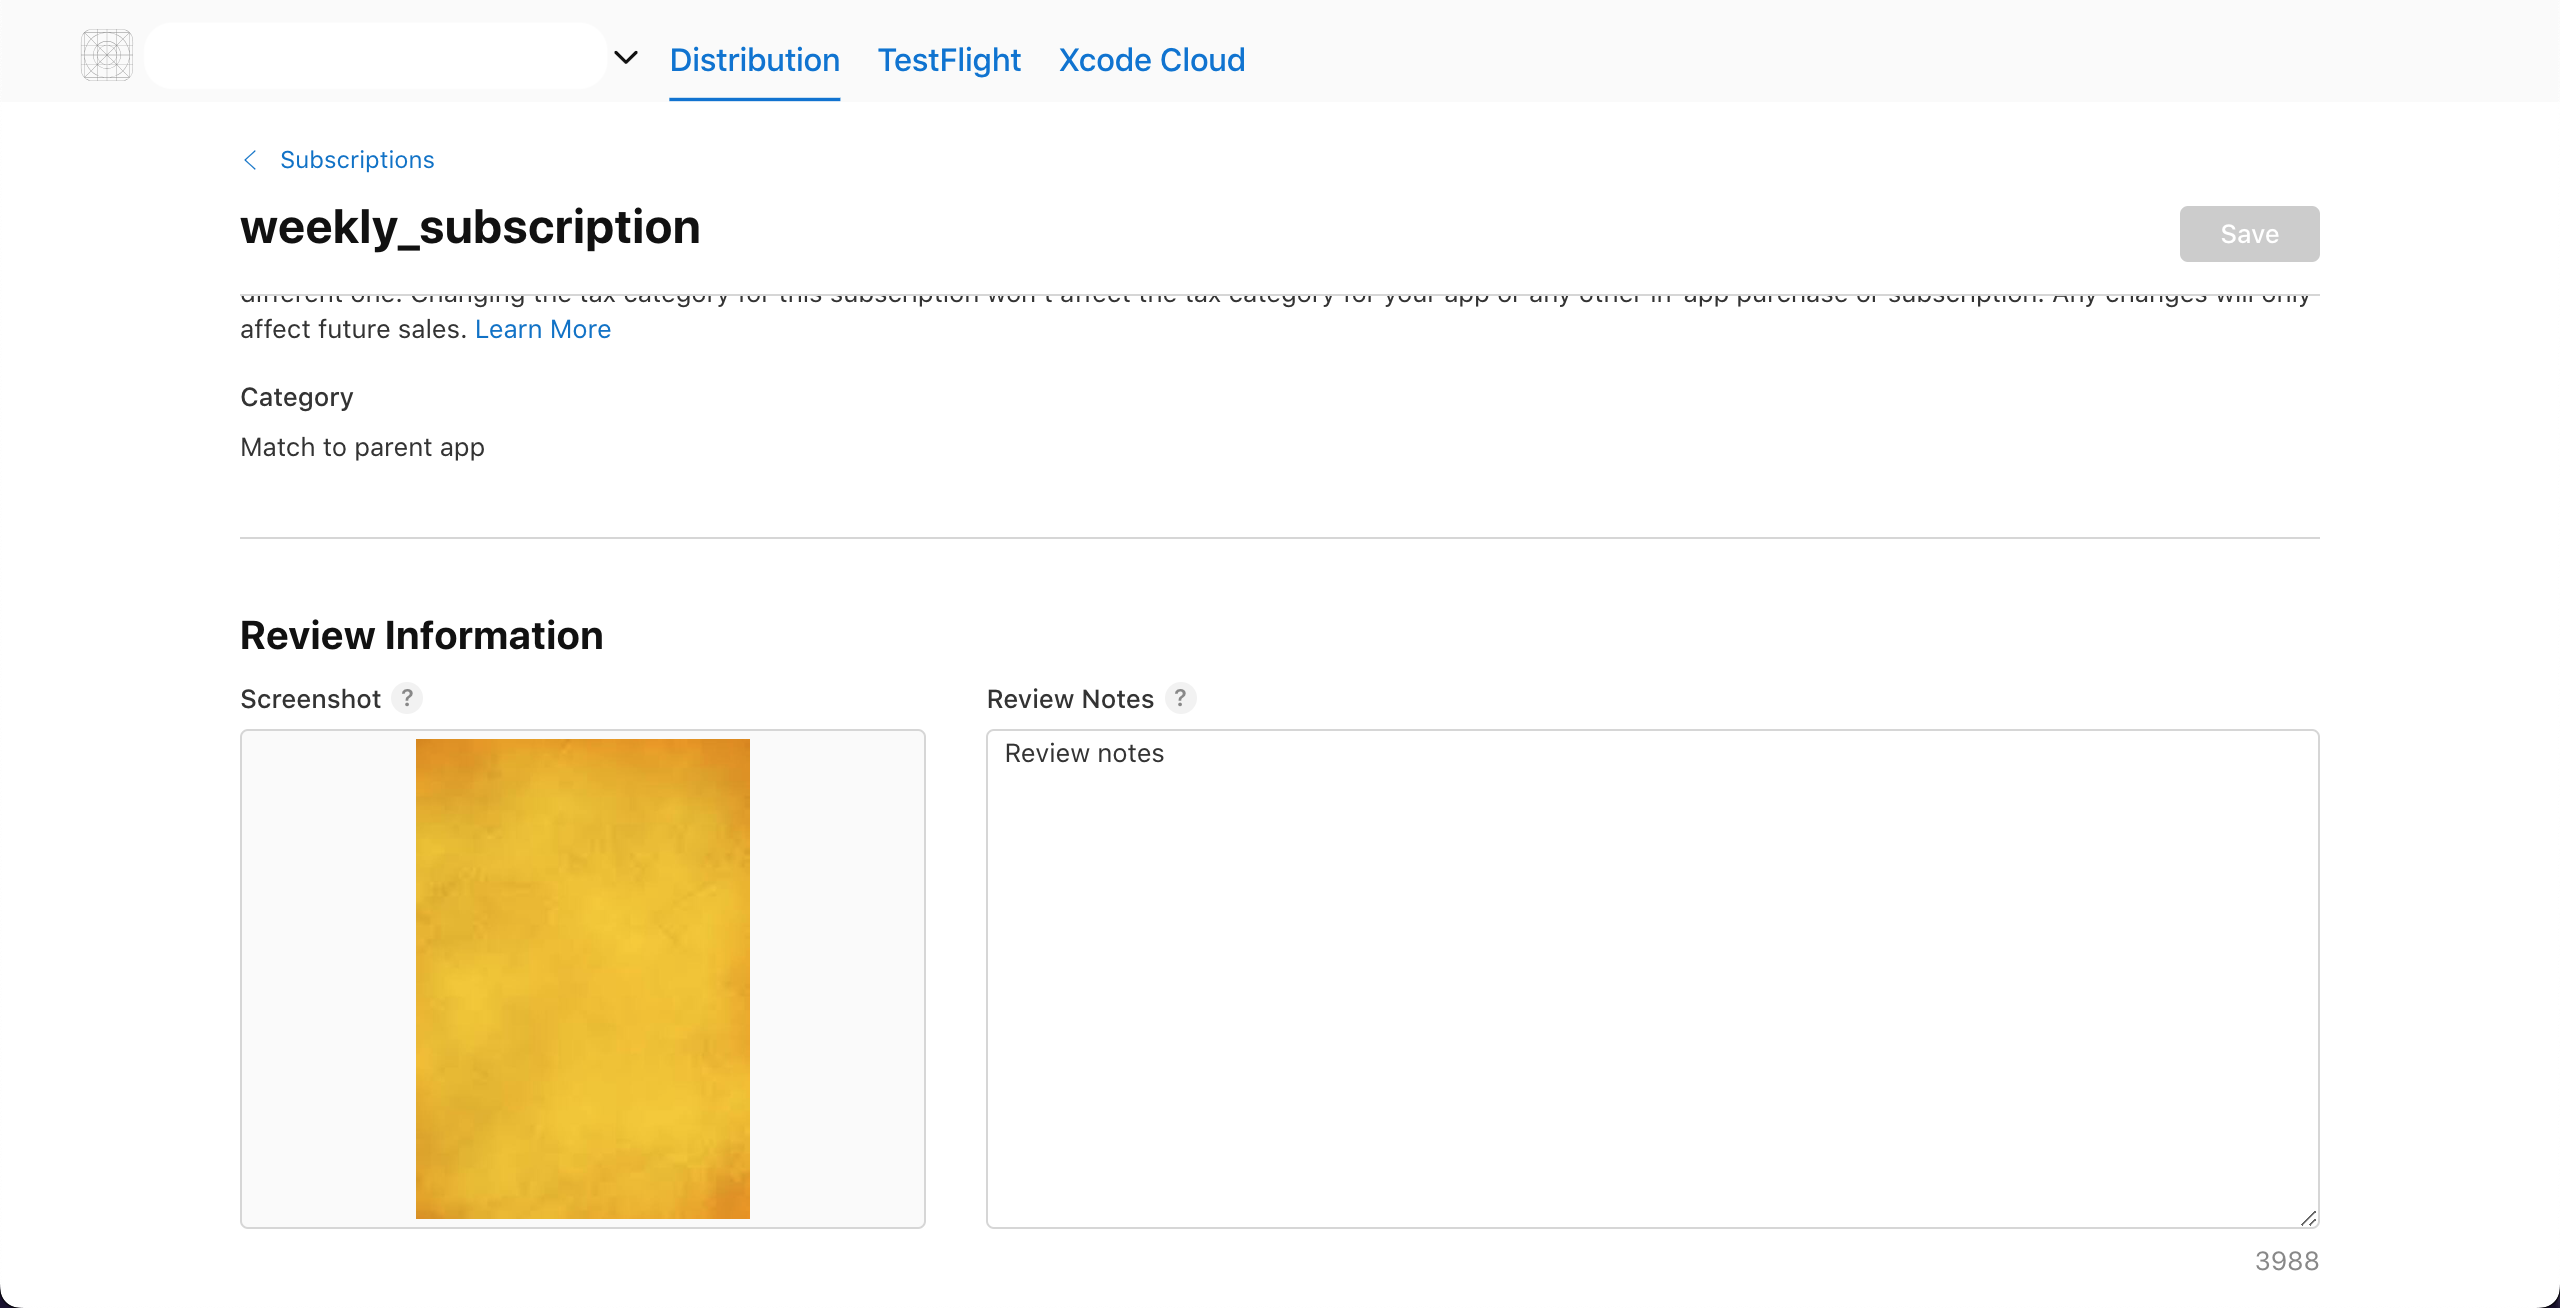
- Also we have to add Screenshot and Review notes in Review Information section to generate minimal subscription setup fot testing.
Note
- Change the Screenshot and Review notes once you want to submit for review.
- Once you’ve uploaded a screenshot, you can update it but can not remove it.
- Tap on Save and we have completed subscription details.